Dear ImGui Bundle applications can be effortlessly deployed to the web using Pyodide, enabling Python code to run directly in web browsers. This capability allows developers to share interactive GUI applications without requiring users to install any software.
Note: Pyodide cannot use large native packages (like TensorFlow or PyTorch), and initial loading can be slow.
Pyodide Minimal Template
With Pyodide, web deployment is as easy as copying the HTML template below. The Python code is unchanged from what you’d use for desktop.
How it works
The template is organised into four clearly marked parts.
Part 1 — Load Pyodide from a CDN
Pyodide is a Python interpreter compiled to WebAssembly; it runs directly in the browser.
<script src="https://cdn.jsdelivr.net/pyodide/v0.29.3/full/pyodide.js"></script>Check pyodide latest releases and update the URL accordingly.
Part 2 — Python application code
The Python code is embedded in a <script type="text/python"> block: browsers ignore the unknown type but keep the content as .textContent (read from Part 4). No backtick escaping, and IDEs can still syntax-highlight the code.
<script type="text/python" id="pythonCode">
from imgui_bundle import imgui, immapp
def gui():
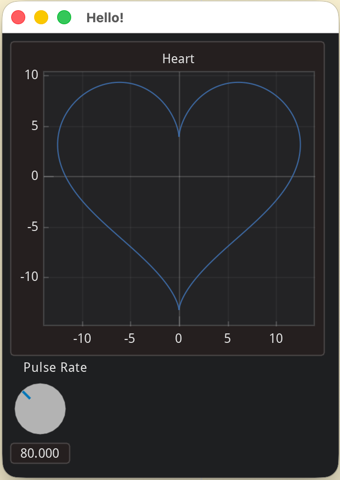
imgui.text("Hello from Pyodide!")
if __name__ == "__main__":
immapp.run(gui, window_title="Hello!")
</script>Alternative: keep the Python in a separate file (e.g. app.py) and fetch it at runtime — see Part 4 below.
Part 3 — Page DOM + styles
A <canvas> (where the ImGui app draws) and a full-screen loader overlay with a pure-CSS spinner (shown while Pyodide and the wheel download).
Part 4 — JavaScript driver
Loads Pyodide, wires SDL to the canvas, installs imgui_bundle via micropip, then runs the Python code:
async function main() {
    const sdl2Canvas = document.getElementById("canvas");
    sdl2Canvas.addEventListener('contextmenu', e => e.preventDefault());

    // Load Pyodide
    let pyodide = await loadPyodide();

    // Setup SDL, cf https://pyodide.org/en/stable/usage/sdl.html
    pyodide.canvas.setCanvas2D(sdl2Canvas);
    pyodide._api._skip_unwind_fatal_error = true;

    // Prepare micropip
    await pyodide.loadPackage("micropip");
    const micropip = pyodide.pyimport("micropip");

    // Install imgui_bundle (two options)
    //   Option a (default): load a wheel from a local url.
    //   The wheel must match this Pyodide / Python version.
    //   By default, keep it local (same origin as this HTML). If hosted
    //   elsewhere, that server must send CORS headers.
    await micropip.install('local_wheels/imgui_bundle-1.92.601-cp313-cp313-pyodide_2025_0_wasm32.whl');
    //   Option b: use the (older) wheel bundled with the Pyodide CDN
    // await micropip.install('imgui_bundle');

    // Load additional required packages
    await micropip.install('numpy');

    // Run the Python code
    //   Option a (default): embedded in Part 2
    pyodide.runPython(document.getElementById("pythonCode").textContent);
    //   Option b: load from an external file
    // pyodide.runPython(await (await fetch('app.py')).text());
}
main();
Where to find Pyodide wheels for imgui_bundle
Release wheels — attached to each GitHub release
Nightly builds — download a wheel directly from GitHub Actions
Wheels must match the Pyodide version and Python version used in the template.
Pyodide API
In Pyodide (browser environment), run() behaves differently than on desktop: it starts the GUI and returns immediately (fire-and-forget), since browsers cannot block.
Pattern 1: Fire-and-Forget with run() (Recommended)
The simplest pattern - same code as desktop, just works:
from imgui_bundle import imgui, immapp

def gui():
    imgui.text("Hello from Pyodide!")
    if imgui.button("Exit"):
        from imgui_bundle import hello_imgui
        hello_imgui.get_runner_params().app_shall_exit = True

# In Pyodide: starts the GUI and returns immediately
# On desktop: blocks until GUI closes
immapp.run(gui, window_title="My App")
This is perfect when:
You want the same code to work on desktop and in browser
You don’t need to do anything after the GUI closes
You want the simplest possible code
Note: In Pyodide, run() returns immediately. Use run_async() if you need to wait for the GUI to exit.
Pattern 2: Async Control with run_async()
(since v1.92.6)
For workflows that need to wait for the GUI to exit:
import asyncio
from imgui_bundle import imgui, immapp

def gui():
    imgui.text("Advanced async control")

async def main():
    # Wait for GUI to exit before continuing
    await immapp.run_async(gui, window_title="My App")
    print("GUI closed")

asyncio.create_task(main())
Use this when:
You need to know when the GUI exits
You’re integrating with other async code
You want to run sequential GUI sessions
Online Python playground
With this online playground, you can edit and run imgui apps in the browser, without installing anything.
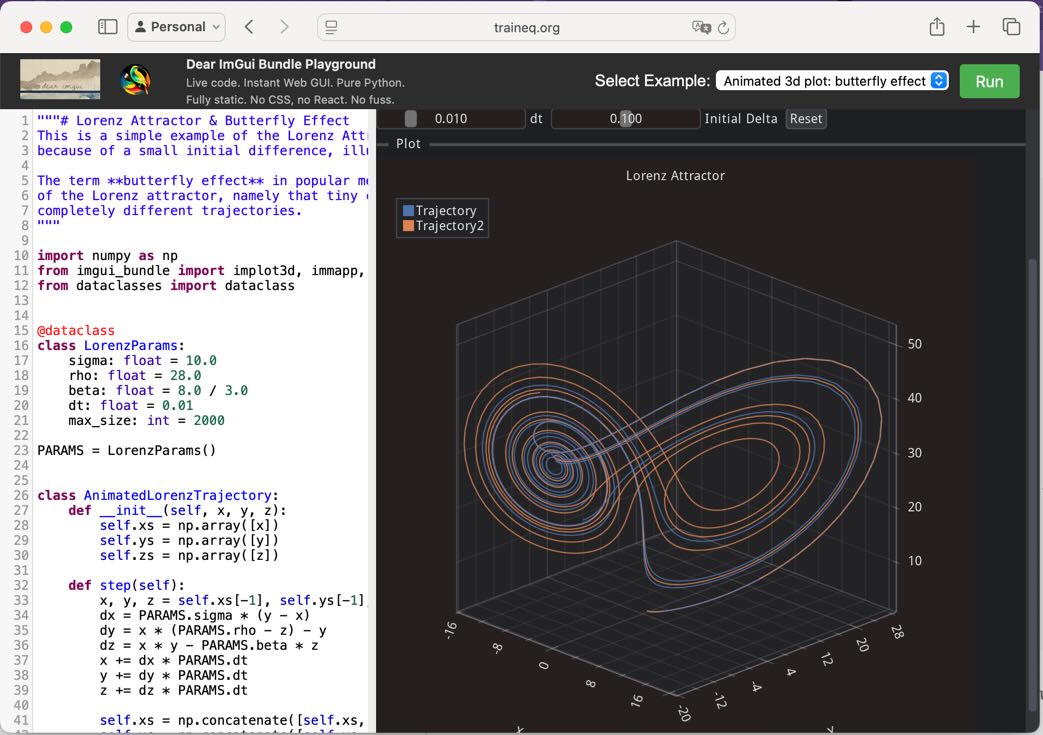
A browser window showing the playground: to the right an interactive demo of the butterfly effect using a 3D plot, and to the left the python code that creates it.